



If your security camera’s live view keeps freezing, nearby WiFi networks could be part of the problem. A quieter channel may reduce slow live view loading, brief freezes or occasional disconnections, although it will not solve poor WiFi coverage. This guide explains how to change a WiFi channel on your router, choose a suitable setting for 2.4 GHz or 5 GHz, and troubleshoot a camera that remains unstable.

Key Takeaways
- Changing the WiFi channel can help reduce interference, but it will not fix weak WiFi coverage.
- WiFi channels can usually be changed in the router’s WiFi, Wireless or Advanced Wireless settings.
- On UK 2.4 GHz networks, start with Auto or test channels 1, 6 and 11 at a 20 MHz channel width to find the most reliable option.
- 5 GHz is often less congested, but 2.4 GHz may work better over longer distances or through walls.
- If changing channels makes little difference, check signal strength, router placement and whether WiFi reliably reaches the camera location.
What a WiFi Channel Change Actually Fixes
Nearby routers can compete for the same part of the WiFi spectrum when they use the same or overlapping channels. A security camera may still show a reasonable signal but experience:
- slow or inconsistent live view loading
- brief freezes or delays
- occasional disconnections
- unstable video playback during busy periods
This can be more noticeable on 2.4 GHz because many home networks and wireless devices share the band.
A driveway camera may work normally during the day but start pausing more often in the evening when neighbouring networks become busier. If the signal at the camera is already adequate, switching to a less congested channel may improve stability without changing its position.
Take the ieGeek ZS-GX4S PTZ outdoor camera, for example. It connects through 2.4 GHz WiFi and uses a 4 dBi WiFi antenna. When installed around a driveway or front garden, the camera may still have usable WiFi coverage even when channel congestion affects live view performance. In that situation, try a quieter 2.4 GHz channel before moving the camera.

How to Change WiFi Channel on Your Router
If channel interference seems to be affecting the connection, you can change the WiFi channel directly in your router settings. The controls are usually found under WiFi, Wireless or Advanced Wireless.
Open the WiFi Settings on Your Router
To change the channel of your WiFi, open your router app or type your router’s admin address into your browser’s address bar, then sign in with the administrator details.
Find the wireless settings and check the current frequency band, channel and channel width. Make a note of these settings so you can switch back if the change does not help.
Select the WiFi Band and Channel
Open the settings for the WiFi band you want to change and find Channel or WiFi Channel. If it is set to Auto, switch to Manual if that option is available, then choose another channel from the list.
Keep the WiFi name and password unchanged, then select Save, Apply or Confirm. The router may briefly restart the wireless network while the new setting takes effect.
If your camera supports both bands, check which one it uses before changing the channel. The ieGeek ZY-E2 floodlight camera supports both 2.4 GHz and 5 GHz WiFi, so you need to adjust the settings for the band it is connected to. A camera mounted close to the house may have a good 5 GHz connection, whereas one further along a driveway or behind an external wall may perform more consistently on 2.4 GHz.

Save the Change and Check the Connection
After saving the new channel, wait for the router to finish applying the setting. Your phone or computer may briefly disconnect and should reconnect automatically once WiFi is available again.
Open the router settings again and confirm that the selected channel is now active. Then open the camera’s live view and check for freezes or delays, ideally during the evening if that is when problems usually occur. If the connection gets worse, switch back to the previous channel or try another available option.
How to Choose the Right WiFi Channel for a Security Camera
Channel choice mainly comes down to the WiFi band and how crowded the nearby wireless networks are for WiFi security cameras.
| WiFi Band | Range and Wall Penetration | Interference Risk | Recommended Channel Approach |
|---|---|---|---|
| 2.4 GHz | Better suited to longer distances and walls | Often higher in busy residential areas | Start with Auto or test a quieter 20 MHz channel |
| 5 GHz | Better suited to shorter distances with fewer obstacles | Often less congested | Auto is usually practical; available channels depend on the router and region |
Choose a Channel for 2.4 GHz
The UK 2.4 GHz band provides channels 1 to 13. For a typical home network, channels 1, 6 and 11 at 20 MHz are practical starting points. A 1, 5, 9 and 13 plan is not a universal recommendation, particularly where neighbouring networks use different channel arrangements or older WiFi equipment.
For example, a best exterior security camera at the back of a terraced house may share channel 6 with several neighbours’ routers, while channel 1 is less busy. Testing channel 1 could therefore give the camera a steadier connection even though its distance from the router has not changed.
Channel width matters as well. For 2.4 GHz, 20 MHz is generally a better starting point than 40 MHz in a busy WiFi environment because it uses less spectrum and is less likely to overlap with surrounding networks.
Choose a Channel for 5 GHz
The 5 GHz band has more channel capacity and is often less crowded, but its signal generally becomes weaker sooner with distance and solid obstacles.
This means a quieter 5 GHz channel is not automatically better for an outdoor camera. Where a camera is installed can affect its connection performance, as one mounted beside a garage attached to the house may have a strong 5 GHz connection, while one behind several walls at the far end of the property may remain more stable on 2.4 GHz.
Available 5 GHz channels vary with router hardware and regional regulations. In most homes, leaving 5 GHz channel selection on Auto is therefore a sensible starting point.
Decide Between Auto and Manual Channel Selection
Auto suits most home networks because the router handles channel selection without regular user intervention. How often it reassesses the channel depends on the router; some do so mainly when they restart.
Manual selection becomes more useful when testing shows that one channel repeatedly performs better for the camera. If live view repeatedly freezes on one channel but remains stable on another under similar conditions, it makes sense to keep the more reliable setting.
For a security camera, the useful result is a live view that loads reliably and stays steady, rather than the highest possible network speed.
What to Do If Your Camera Is Still Unstable
If changing the channel makes little difference, the connection problem may lie elsewhere.
Camera Does Not Reconnect
First confirm that the router is still broadcasting a frequency band and channel supported by the camera. If you changed only the channel, the WiFi name and password should normally remain the same.
Restarting the camera or router may restore the connection. If the camera connects reliably only when brought closer to the router, distance or physical obstacles are more likely to be the main issue. For areas outside normal WiFi coverage, a 4G security camera can provide another connection option.
Channel Change Does Not Help
A different channel cannot compensate for WiFi that barely reaches the camera.
Detached garages, farm entrances and remote buildings can sit beyond practical home WiFi coverage. In these locations, the priority is getting a reliable connection to the camera, rather than working through more channel settings.
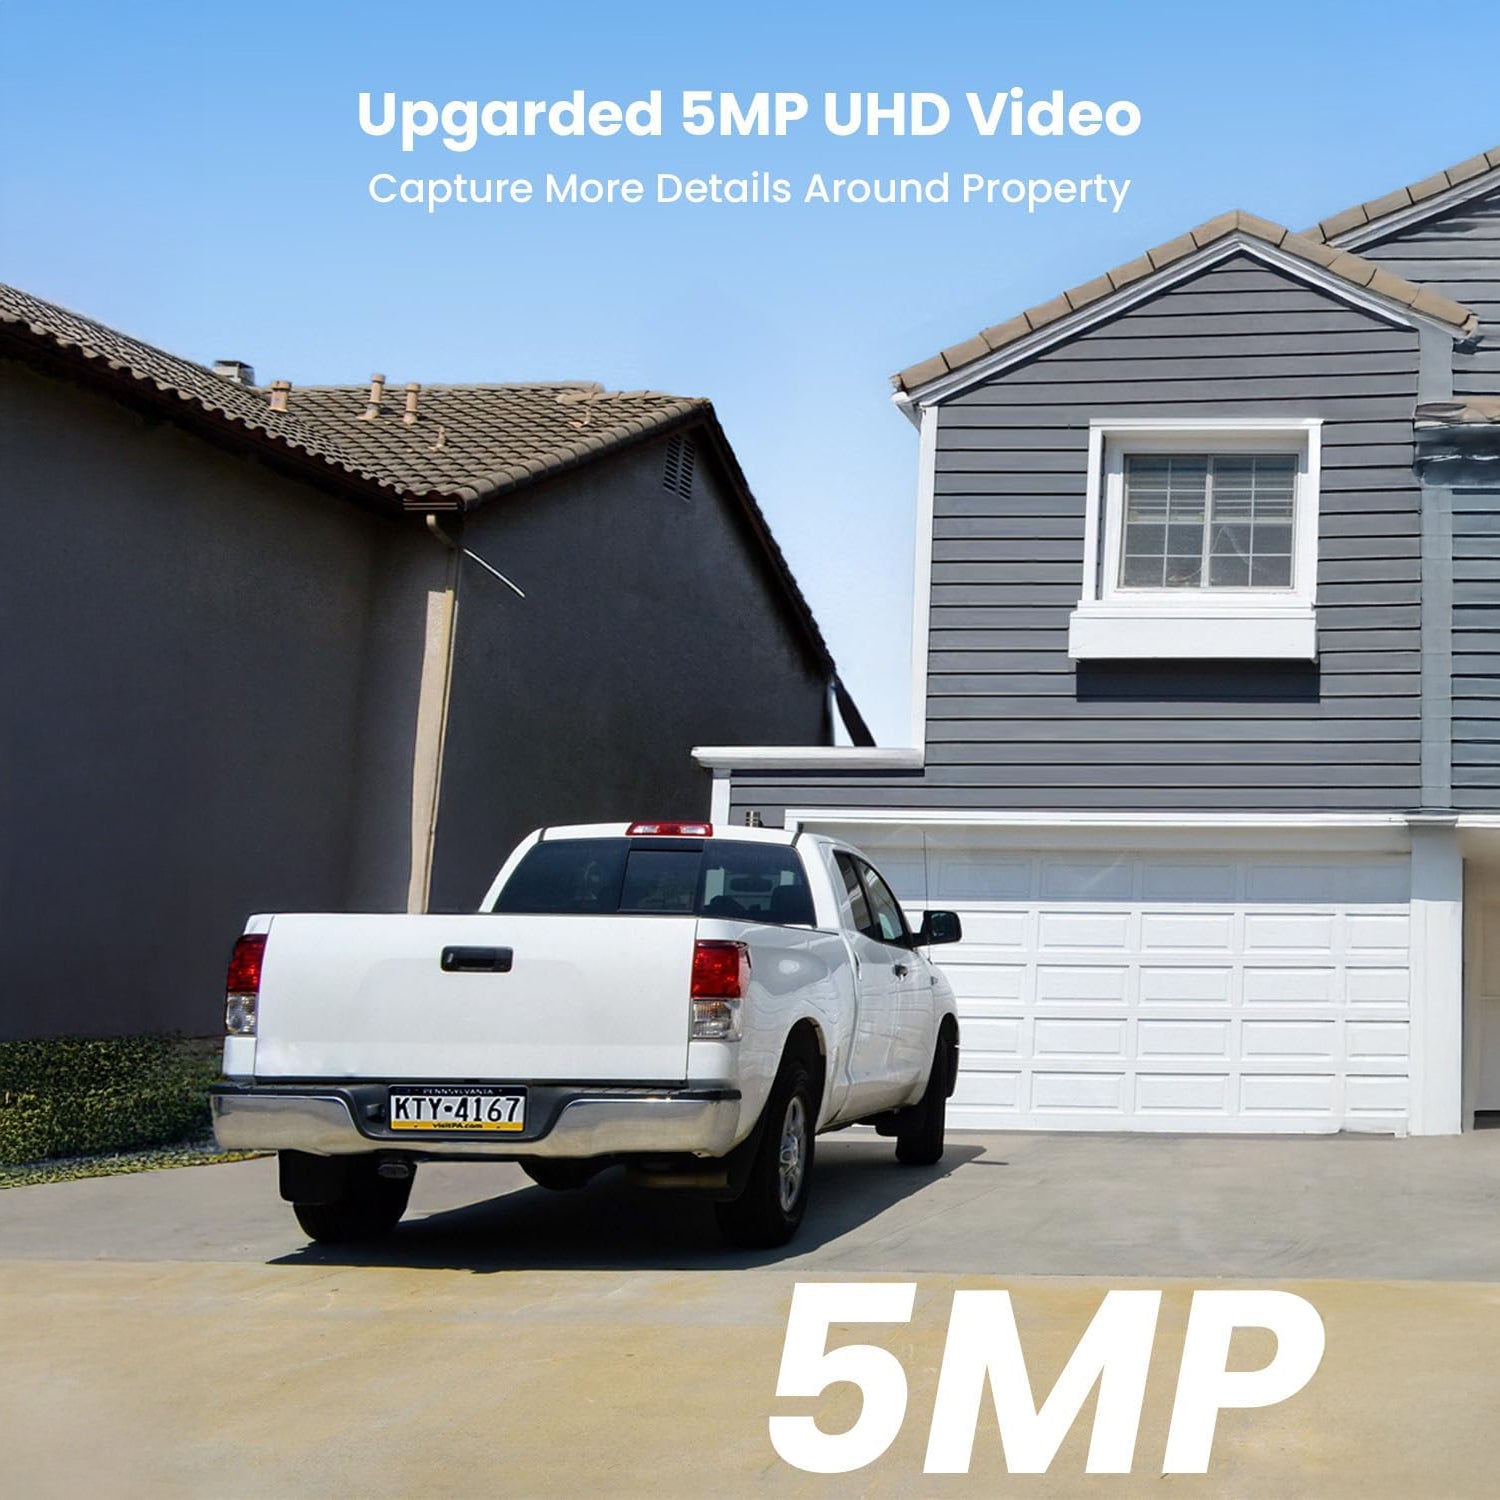
The ieGeek S11 4G LTE camera takes a different approach by connecting through a SIM card and 4G LTE rather than household WiFi. Solar and battery power also allow it to be installed where fixed network and power connections are limited. It can be a practical option for a farm, detached outbuilding or remote property with reliable mobile coverage, where home WiFi simply does not reach.
Manual Channel Option Is Unavailable
Some routers supplied by broadband providers and mesh systems manage WiFi channels automatically and do not provide a manual control. In that case, you may not be able to select a channel yourself.
Focus instead on signal strength, router placement and the band used by the camera. If the router supports automatic channel management, let it handle channel selection while you check whether the camera has adequate coverage.
FAQ
Can I change the WiFi channel from my phone?
Yes, if your router provides a mobile app or an admin page you can open in your phone’s browser. The available controls depend on the router model and broadband provider.
Does changing the WiFi channel change my WiFi name?
No. Changing the channel does not normally alter the WiFi name or password. Connected devices may disconnect briefly while the router applies the new setting, then reconnect automatically.
Will changing the WiFi channel affect other connected devices?
It may briefly interrupt devices using that WiFi band while the router switches channels. They should normally reconnect without being set up again, provided they support the selected channel.
Is 20 MHz or 40 MHz better for a 2.4 GHz security camera?
20 MHz is usually the better starting point, particularly when several nearby networks use 2.4 GHz. It occupies less spectrum and is less likely to suffer from interference from overlapping channels. A 40 MHz channel provides more theoretical capacity but may be less suitable in a crowded wireless environment.
Does a security camera choose its own WiFi channel?
Usually not. A security camera normally uses the WiFi channel selected by the router or access point rather than choosing a channel itself.
Conclusion
Changing the WiFi channel is most useful when a security camera already has adequate coverage but nearby wireless networks are causing interference. Auto works well for many homes, while manual testing can help when a particular channel repeatedly gives a more stable connection. If switching channels does not help, check how well the signal reaches the camera and what stands between it and the router. Where home WiFi cannot reach, a different connection method may be the more practical solution.
About the Author
 |
Developed by the ieGeek content team, combining hands-on experience with smart devices and insights into real user needs. ieGeek is widely known for smart security, our solutions are also designed for a variety of real-life scenarios, including travel, outdoor monitoring, pet care, and family safety. We focus on delivering simple, dependable solutions that fit seamlessly into daily life. |